

Quick Start
Go from a fresh install to a running workspace: add a provider, start a workspace, open it in your editor. First, install Devsy.
Run devsy ide list to see every supported editor. VS Code Browser (openvscode) and none (SSH only) need nothing installed locally. For any other editor, install it first. JetBrains IDEs also need JetBrains Gateway.
Devsy CLI
1. Add a provider
A provider decides where workspaces run. Add local Docker:
devsy provider add dockerFor other backends, see Add a Devsy Provider.
2. Start a workspace
Point Devsy at a repository and choose an editor with --ide:
devsy workspace up github.com/microsoft/vscode-remote-try-node --ide vscodeDevsy builds the dev container and opens the editor connected to it. With --ide none, connect over SSH:
ssh WORKSPACE_NAME.devsyDevsy Desktop
1. Add a provider
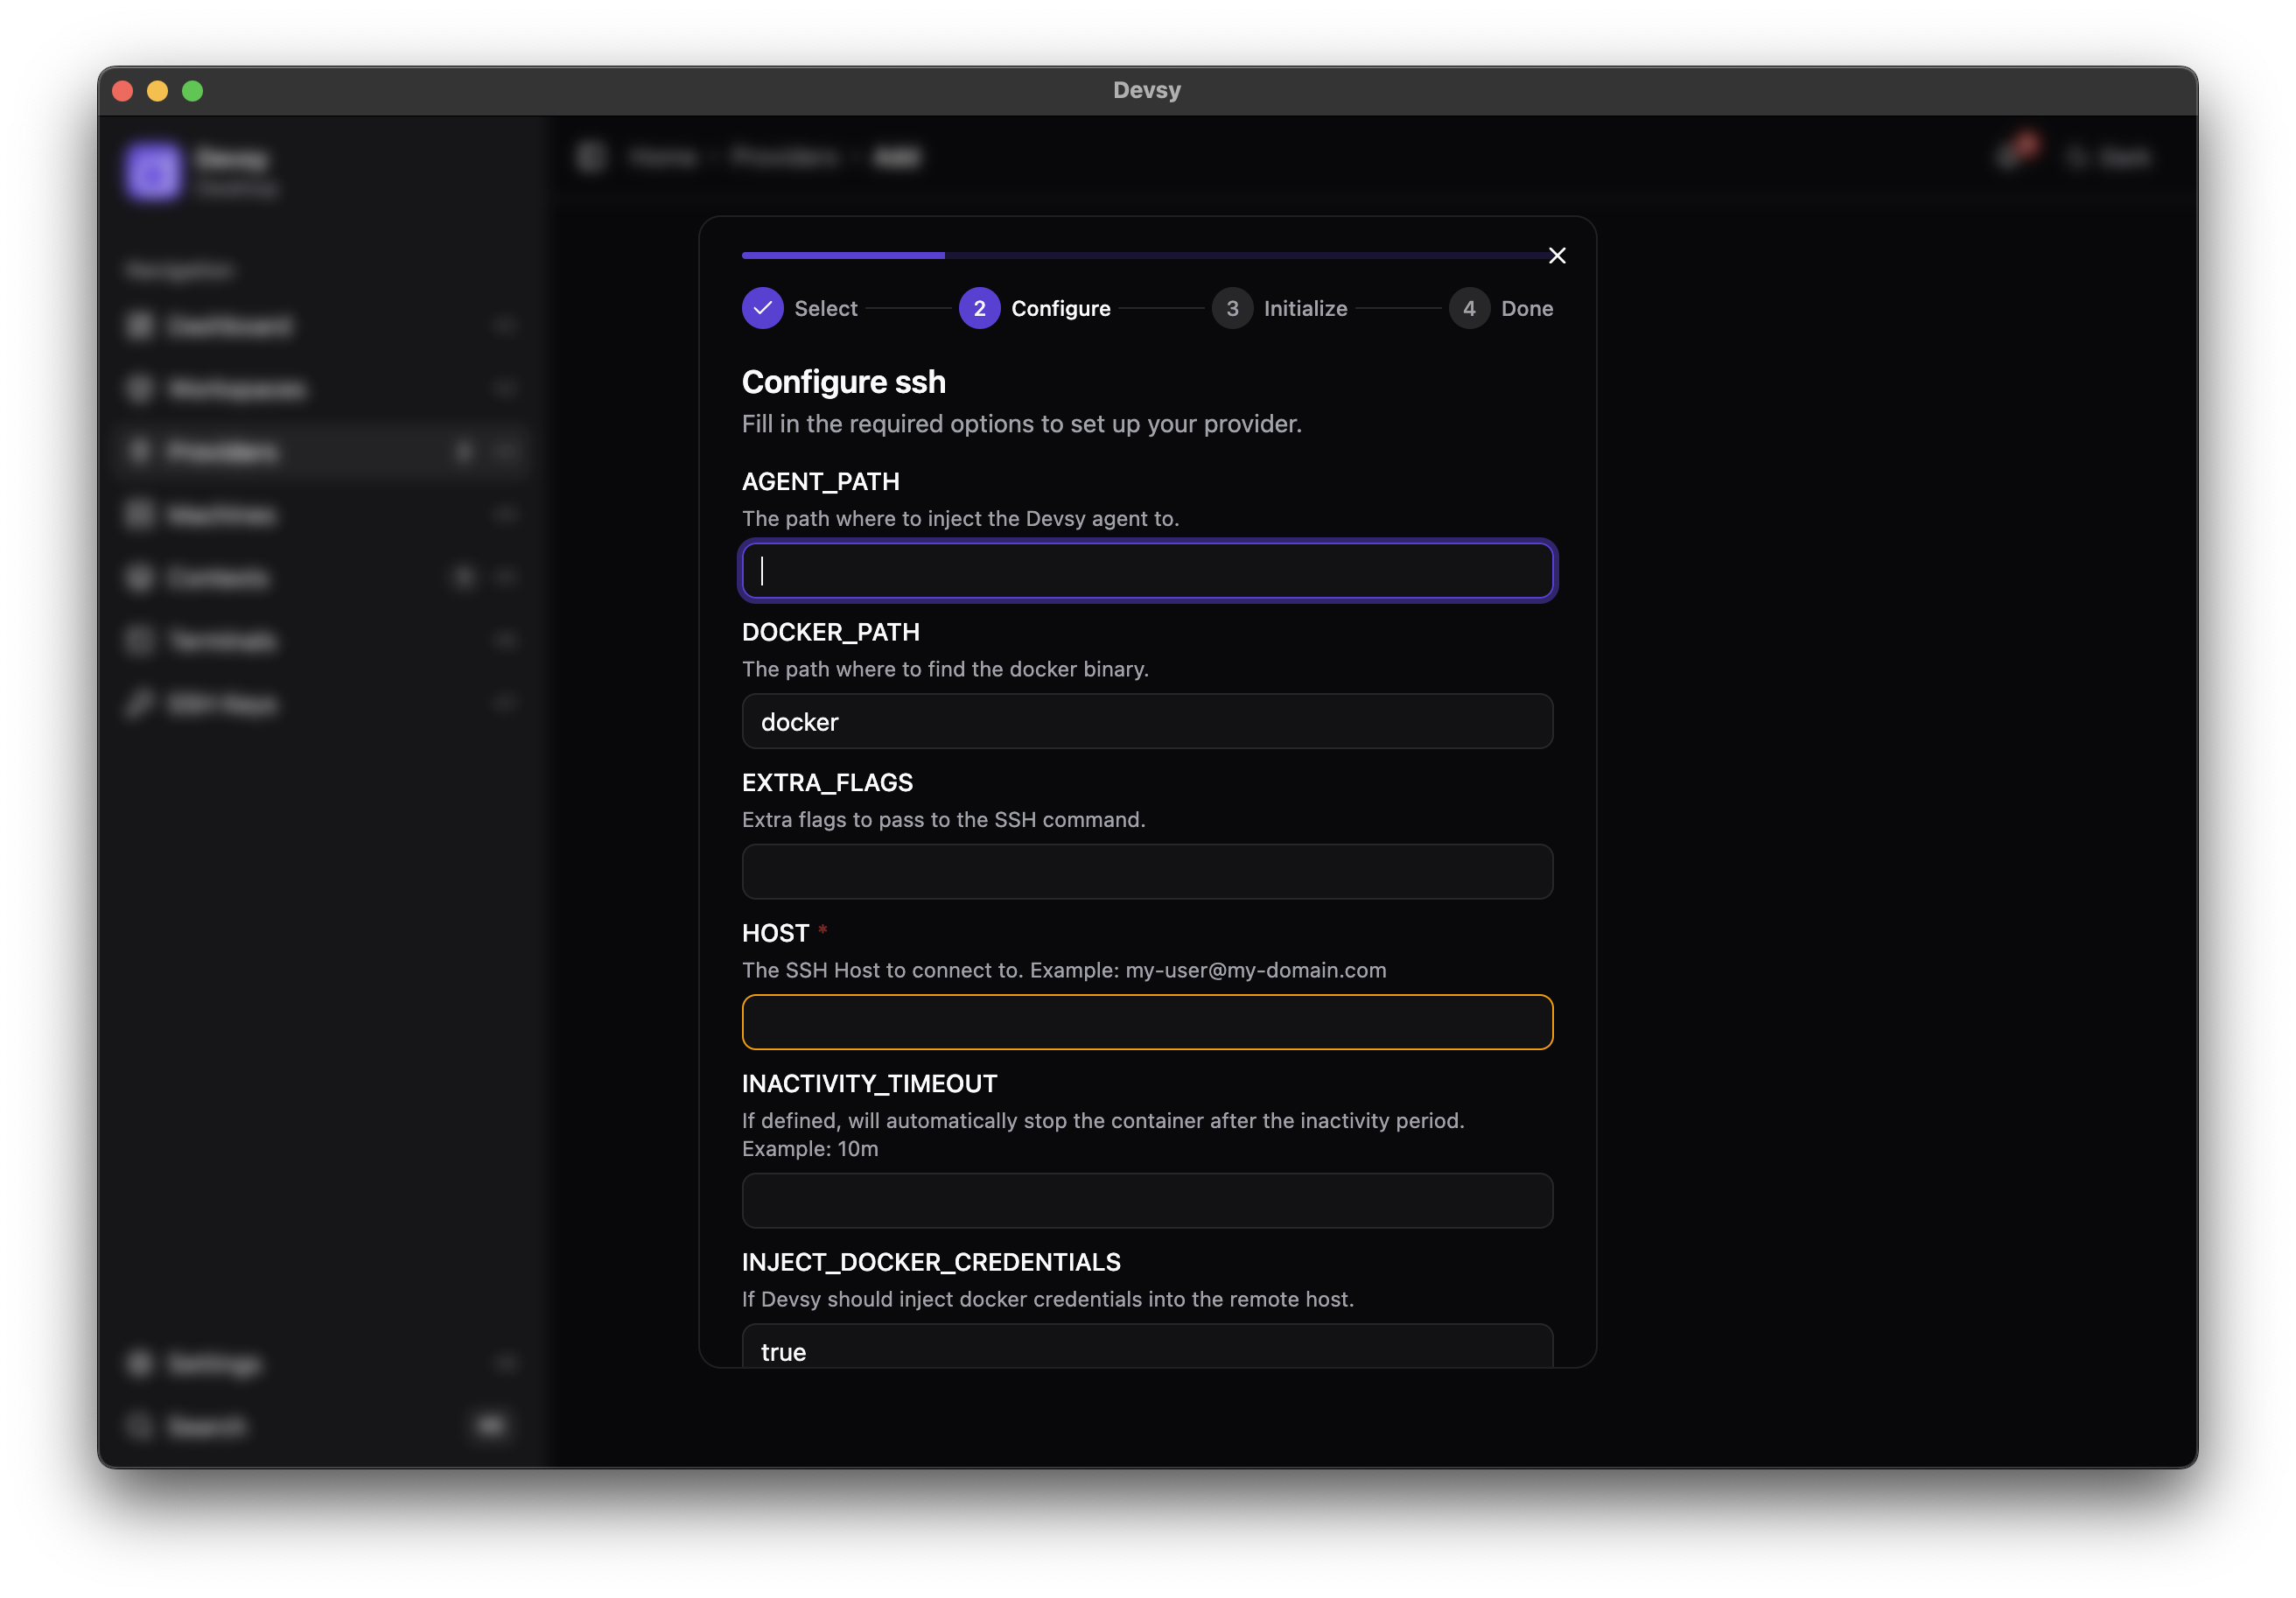
Add a provider via 'Providers' > '+ Add'. Select a provider and select 'Continue'.
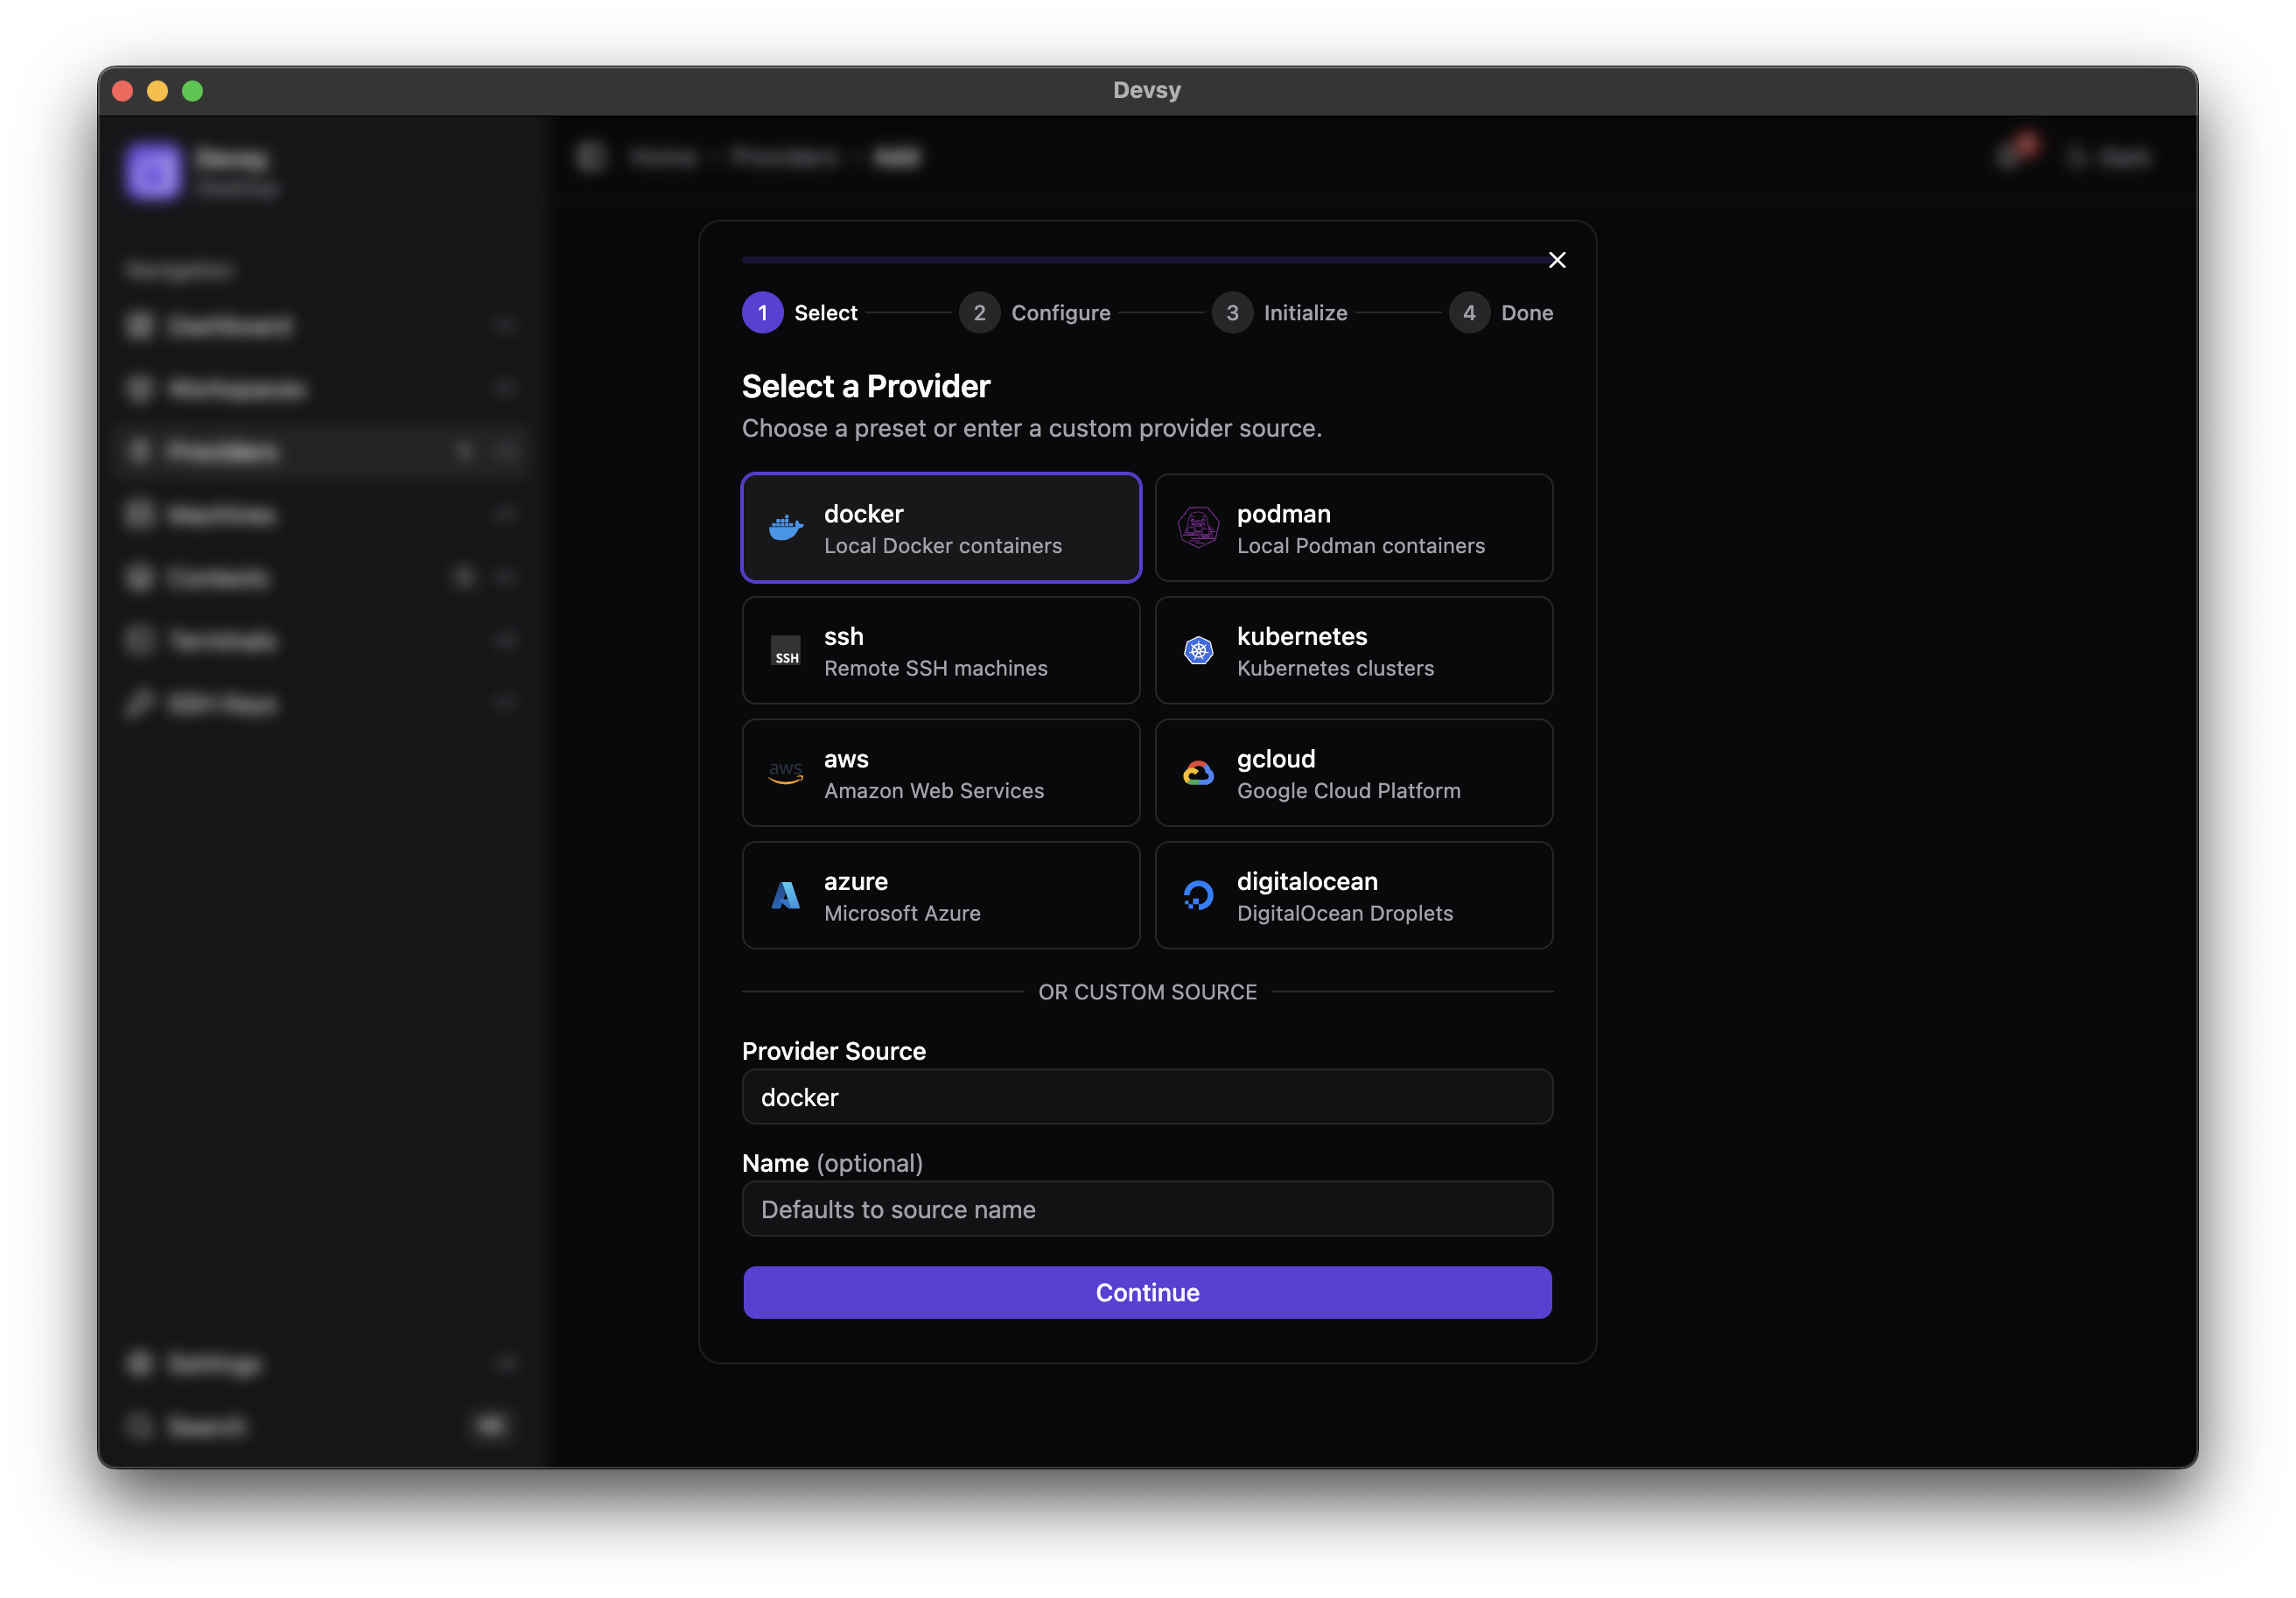
After selecting a provider, fill out the options (if necessary) and click on 'Add Provider'
2. Start a workspace
Go to Workspaces > + Create and follow the wizard: provider, source (a repository URL or a template), editor, review, launch. When the workspace is ready, the editor opens connected to it.
JetBrains Gateway
For a JetBrains IDE, Gateway opens with a prefilled form. Select Check Connection and Continue to start the IDE inside the workspace.
If you chose None, connect over SSH as shown above.
Environment variables
To use environment variables in devcontainer.json, see Environment variables in devcontainer.json.